How to Install Smart Home Security Step by Step Guide
Protecting your property is easier than ever. Modern technology lets you monitor your living space and gives you and your family peace of mind. Learning about smart home security benefits is the first step toward a safer home.
This comprehensive home security guide makes the process simple for everyone. You do not need to be a technology expert to get professional results. We cover each step, from planning to final system testing.

Learning How to Install Smart Home Security follows a clear process. First, map device locations, then configure the system and set up the app. We also explain troubleshooting and maintenance to keep your system reliable over time.
Key Takeaways
- Assess your property layout before purchasing equipment.
- Prioritize entry points for camera and sensor placement.
- Use mobile apps to manage alerts and live feeds.
- Test every sensor thoroughly after the initial setup.
- Perform regular maintenance to keep firmware updated.
Plan Your Smart Home Security Setup
A successful smart home security setup starts before you use a screwdriver. Mapping your property helps protect every corner and prevents blind spots that intruders could exploit.
Identify Entry Points, High-Risk Areas, and Coverage Gaps
Walk around your home and identify every possible entry point. Focus on ground-floor windows, sliding glass doors, and the main garage entrance, common targets for unauthorized access.
Check areas hidden from street view, including side yards and back porches. These high-risk zones may need extra lighting or motion-activated cameras to deter unwanted visitors.
Choose Compatible Cameras, Sensors, Alarms, and a Security Hub
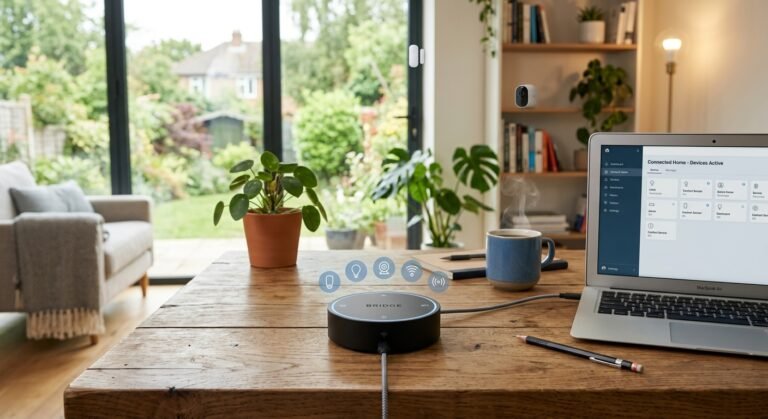
Choose the right hardware for a reliable wireless home security system. A central security hub acts as your network’s brain and lets all devices communicate.
Compare Wired, Battery-Powered, and Wi-Fi Devices
Wired devices provide constant power but need professional installation or complex cable management. Battery-powered options offer flexibility because you can place sensors away from outlets.
Wi-Fi devices are easy to use, but they rely heavily on your home network’s stability. Mix these technologies to balance convenience and long-term reliability.
Confirm Wi-Fi Coverage, Power Access, and Device Compatibility
Before buying, confirm that Wi-Fi reaches every spot where you plan to mount a camera. If the signal is weak, add a mesh network or range extender to prevent connection drops.
Check that your sensors and cameras work with your primary security hub. Devices from one ecosystem often simplify setup and improve integration.
Gather Tools and Prepare the Installation Area
Good preparation makes your home security installation smoother. The right equipment prevents trips to the hardware store during the project.
Collect a Drill, Screwdriver, Screws, Anchors, Batteries, and a Ladder
Most mounting kits include basic hardware, but keep a power drill, screwdrivers, and wall anchors for masonry or drywall. A sturdy ladder is needed to mount outdoor cameras safely.
Always confirm that you have fresh batteries for every wireless sensor. Testing these parts before climbing the ladder saves time and effort.
Check Local Rules for Outdoor Cameras, Shared Areas, and Rental Properties
If you rent or belong to a Homeowners Association (HOA), review rules about exterior changes. Some areas limit camera locations to protect the community’s appearance.
Make sure your installation follows local laws for shared spaces, such as hallways or apartment entryways. Following these rules can prevent legal disputes.
Protect Privacy Before Installing Cameras
Privacy matters when you use modern surveillance technology. Balance your need for safety with the rights of people who live nearby.
Avoid Recording Neighboring Homes, Public Areas, and Private Spaces
Point cameras only toward your property. Avoid aiming lenses at a neighbor’s bedroom window or public sidewalks, which can create serious conflict.
Use privacy masking in your app if the camera has a wide view. This feature blacks out parts of the frame, so your home security installation records only what is necessary.
How to Install Smart Home Security Devices
Turning your house into a secure fortress starts with physical hardware installation. A careful plan helps each component work together to protect your family.
Step 1: Set Up the Security Hub and Mobile App
Connect the Hub to Power and Your Secure Home Network
The hub acts as your system’s brain. Place it centrally so its signal reaches all your devices.
Create a Strong Account Password and Enable Two-Factor Authentication
Protect your digital credentials with a unique, complex password. Enable two-factor authentication to block unauthorized account access.
Step 2: Install Door and Window Entry Sensors
Clean and Dry Each Mounting Surface
Before applying adhesive, wipe frames with rubbing alcohol. A clean surface is essential for lasting adhesion of your door and window sensors.
Align the Sensor and Magnet With the Correct Gap
Most sensors need a gap under half an inch to work properly. Test the alignment before removing the adhesive backing.
Label Each Sensor by Location in the App
Name sensors with labels such as “Front Door” or “Kitchen Window” to identify alerts more easily. This saves time during emergencies.
Step 3: Mount Motion Sensors for Reliable Detection
Place Sensors Across Main Walkways and Away From Direct Heat
Mount your motion sensors in corners where they can scan the whole room. Keep them away from radiators, fireplaces, and direct sunlight to prevent false triggers.
Adjust Height, Angle, and Sensitivity to Reduce False Alarms
Most manufacturers recommend mounting these devices about seven feet high. If you have pets, select “pet-immune” mode to prevent unwanted notifications.
Step 4: Install Indoor and Outdoor Security Cameras
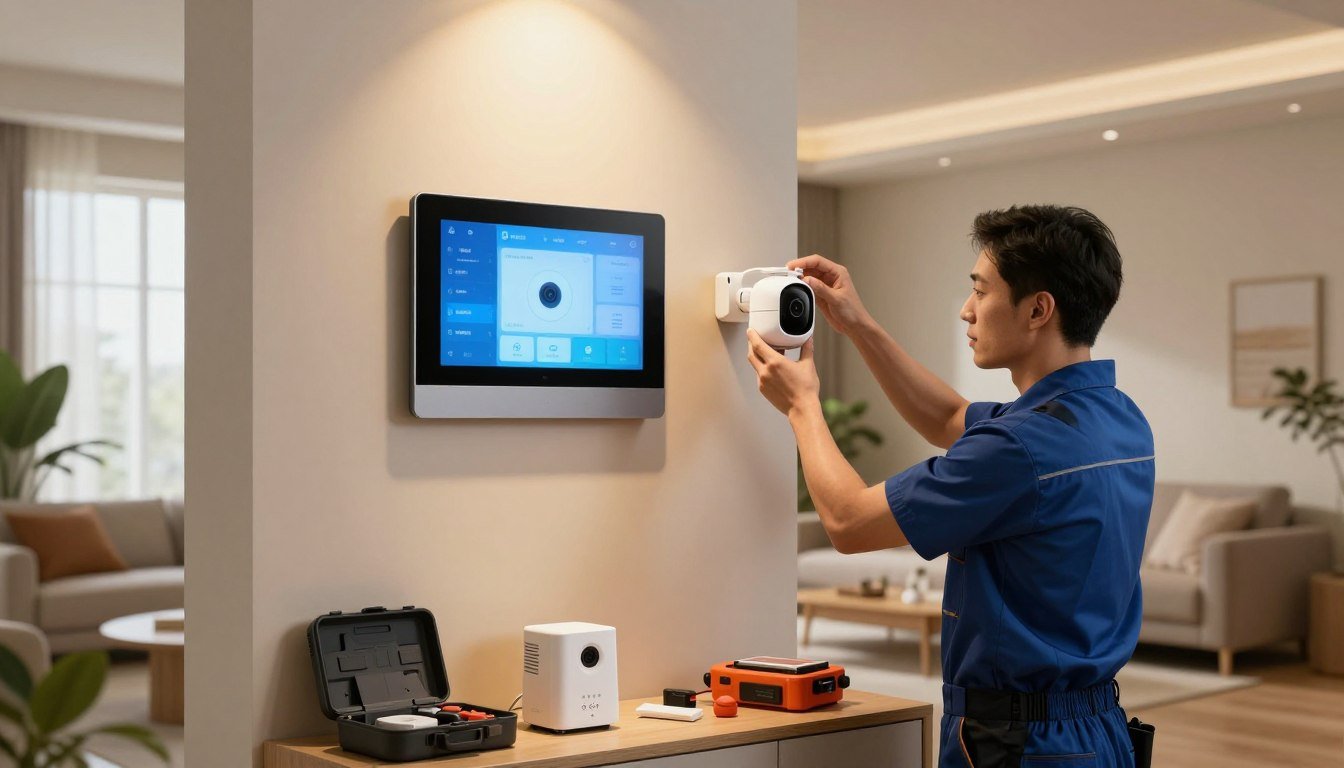
Position Indoor Cameras to Watch Entryways Without Recording Private Areas
Place your security cameras in busy areas like hallways or living rooms. Protect privacy by avoiding bathrooms and bedrooms.
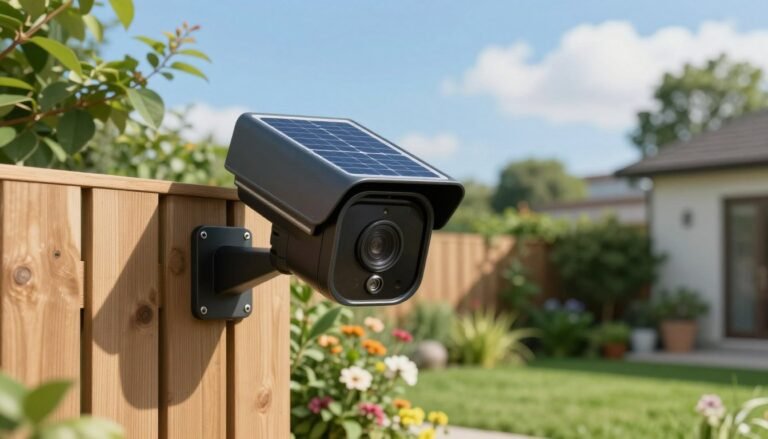
Mount Outdoor Cameras Under Eaves With a Clear View of Approaches
Mounting cameras under eaves protects them from rain and snow. Give them a clear view of your driveway or porch.
Angle Cameras to Minimize Glare, Blind Spots, and Weather Exposure
Adjust the tilt away from direct sunlight, which can wash out video. A slight downward angle usually captures faces best.
Secure Cables, Insert Batteries, and Confirm Stable Power
For wired or battery-powered units, make sure the connection is solid. A stable power source is the foundation of reliable surveillance.
Step 5: Add a Smart Doorbell and Glass-Break Sensors
Center the Doorbell Camera at a Useful Viewing Height
Install your smart doorbell at chest height, roughly 48 inches above the ground. This view helps identify visitors and packages.
Place Glass-Break Sensors According to the Manufacturer’s Detection Range
These sensors listen for the frequency of breaking glass. Place them within the recommended distance of your most vulnerable windows.
Step 6: Connect the Siren, Keypad, or Smart Lock
Mount the Siren Where It Can Be Heard Throughout the Home
Place the siren centrally and high on a wall. It should alert everyone inside and deter intruders.
Use Separate Access Codes for Household Members and Temporary Guests
Assign each person a unique code. This lets you track who enters your home and when.
“A well-installed security system is your first line of defense against unexpected threats.”
— Home Safety Expert
Step 7: Test Every Device During Installation
Open Doors and Windows to Trigger Contact Alerts
Walk through your home and open every protected entry point. Confirm your phone receives an instant notification for each action.
Walk Through Motion Zones to Confirm Detection
Test motion zones by walking through their coverage area. Check that the system triggers the alarm or notification as expected.
Check Live Camera Views, Night Vision, Audio, and Two-Way Talk
Open your app to view the live feed. Dim the lights to test night vision, then use two-way talk for clear audio.
Configure App Alerts and Security Rules
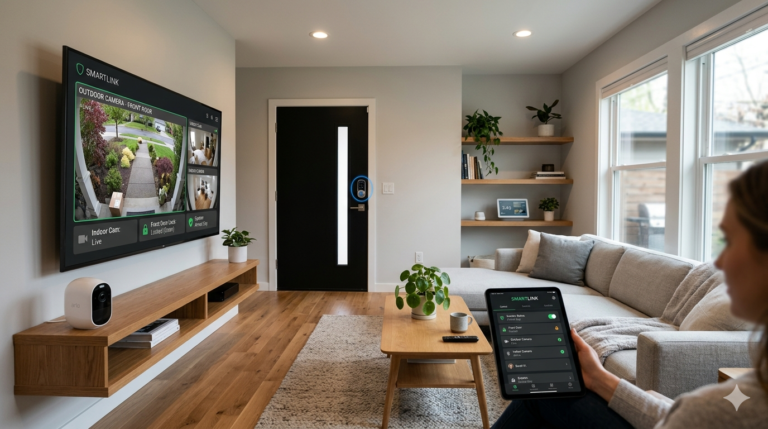
Turning physical devices into one shield requires careful setup in your security system app. This app acts as the command center for your property, controlling how hardware responds to daily life. Fine-tuning settings keeps protection responsive and reliable.

Create Home, Away, and Night Security Modes
Most modern systems use separate modes to manage your property. These modes adjust protection when you sleep, work, or travel.
Choose Which Sensors Arm in Each Mode
Customize which sensors stay active in each state. For example, in Home mode, keep perimeter door sensors active while keeping interior motion detectors disabled for free movement.
Set Entry Delays That Allow Safe Disarming
Entry delays help prevent false alarms. Set a grace period, such as thirty seconds, at main entry points so you can disarm the system after arriving.
Customize Camera Notifications and Recording Settings
Cameras act as your system’s eyes, but poor settings can overwhelm you. Proper setup ensures you receive only security alerts that matter.
Enable Person, Package, Vehicle, or Animal Detection When Available
Modern AI-powered cameras can tell a delivery driver from a stray cat. Enable these filters to track relevant activity without constant, unnecessary pings.
Set Activity Zones to Reduce Unnecessary Notifications
A camera facing a busy street may alert you whenever a car passes. Draw activity zones in your app to ignore high-traffic areas and focus on your porch or driveway.
Build Useful Smart Home Automations
Effective home security automation turns a passive system into an active deterrent. These rules let devices work together to protect your family automatically.
Turn on Exterior Lights When Motion Is Detected
Linking smart lights to motion sensors creates a strong visual deterrent. When a sensor triggers at night, porch lights can illuminate instantly and show potential intruders they were spotted.
Send Alerts to Multiple Trusted Household Members
Add multiple users to keep everyone in your home informed. If you are unavailable, another trusted person can verify an alert or contact emergency services.
Configure Smoke, Carbon Monoxide, Water-Leak, and Power-Failure Notifications
Your security system should monitor more than intruders. Environmental sensors send instant notifications about water leaks, smoke, and other hazards, helping you act before small issues become disasters.
| Security Mode | Perimeter Sensors | Interior Motion | Typical Use Case |
|---|---|---|---|
| Home | Armed | Disarmed | When you are inside and active. |
| Away | Armed | Armed | When the house is completely empty. |
| Night | Armed | Partial | When you are sleeping upstairs. |
Secure Accounts, Devices, and Stored Video
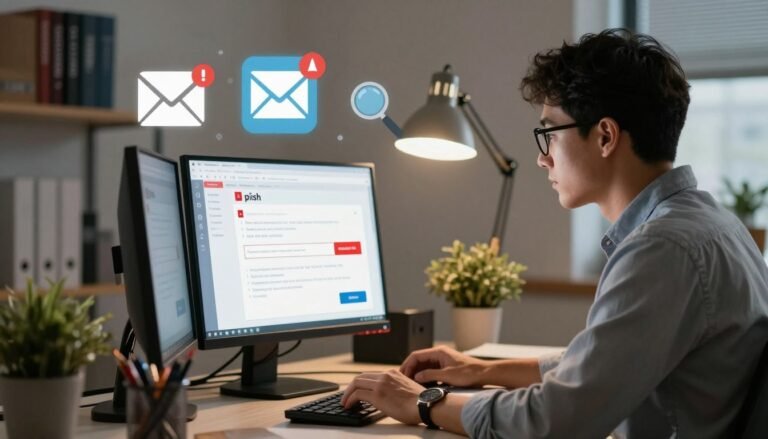
Protecting digital access matters as much as locking physical doors. Always enable two-factor authentication to prevent unauthorized account access.
Install Firmware Updates and Use a Separate Smart-Home Network When Possible
Manufacturers often release firmware updates to patch security vulnerabilities. Keep devices updated, and use a separate smart-home network, such as guest Wi-Fi, when possible.
Review Account Access, Shared Users, Cloud Storage, and Data-Retention Settings
Periodically review who can access your system and how long video clips remain stored. Regular maintenance of these settings keeps your private data under your control.
Test, Troubleshoot, and Maintain the System
Proactive care helps your home defense system last longer and work well. After setup, check each device to protect your family.
Run a Complete Security Walkthrough
Test Sensors From Every Door, Window, and Common Movement Path
Trigger every entry sensor in your home by opening each door and window. Walk through each area to confirm the system detects openings at once. Consistency is key when checking motion detectors in main halls and living areas.
Confirm Notifications Arrive Promptly on Each Authorized Phone
Ask a family member to help test alerts on every authorized device. Each phone should receive a push notification or text within seconds. If alerts lag, check your app settings and enable background data permissions.
Verify the Alarm Can Be Heard and Silenced Safely
Use controlled test mode to check that the siren can alert everyone inside. Practice silencing it with your keypad or app. Knowing how to stop a false alarm prevents panic and keeps your household calm.

Fix Common Installation and Connection Problems
Reconnect Devices With Weak Wi-Fi or Intermittent Signals
For smart home security troubleshooting issues, begin by checking your network strength. Devices far from your router may lose connection often. Add a Wi-Fi range extender to steady signals in detached garages or distant rooms.
Replace Batteries and Correct Misaligned Contact Sensors
Check your app often for low-battery warnings. If a sensor cannot report open or closed status, its magnets may be misaligned. Keep both contact sensor pieces within the manufacturer’s recommended distance.
Adjust Camera Angles, Motion Zones, and Detection Sensitivity
Poor settings often cause false alarms. Adjust your camera activity zones to exclude busy streets and swaying tree branches. Smaller detection areas help cameras record only events that matter.
Create a Simple Maintenance Schedule
Check Batteries, Mounts, Lenses, and Cables Each Month
Inspect your hardware each month. Clean camera lenses, tighten loose mounts, and check that power cables stay plugged in. This routine security system maintenance helps prevent hardware failure.
Review Alerts and Update Emergency Contacts Every Few Months
Keep your contact list current. Update your security profile after changing your phone number or adding an emergency contact. This helps monitoring services reach the right people during a real emergency.
Test Backup Power and Internet-Failure Procedures
Reliable backup power security matters during storms or grid outages. Unplug your hub sometimes to test its internal battery or cellular backup. Confirm that alerts continue when your home Wi-Fi is offline.
- Monthly: Clean lenses and check mount stability.
- Quarterly: Update emergency contacts and test siren volume.
- Bi-Annually: Replace batteries in all sensors and remotes.
Conclusion
Building a strong property defense takes more than buying hardware. This complete smart home security checklist guides you from planning through the final system test.
Reliable home security protection depends on proper device placement and account safety. Ring, Arlo, and SimpliSafe offer powerful tools, but active management helps keep your family safe.
Following smart home security best practices helps cameras, sensors, and alarms work together. Regular maintenance updates software and keeps batteries charged for peak performance.
Review app settings and automation rules today. A proactive approach to digital and physical safety brings lasting peace of mind. Share your setup experiences with neighbors to help build a safer community for everyone.
FAQ
Which smart home security brands are easiest for DIY installation?
Many top-tier brands support self-installation. Ring, SimpliSafe, and Arlo offer simple setups without professional help. Their mobile apps guide you through connecting the security hub and pairing entry sensors or smart doorbells in just a few minutes.
How can I prevent my pets from triggering false alarms on motion sensors?
To reduce false alarms, adjust detection sensitivity in apps such as Google Home or Amazon Alexa. Many modern motion sensors let you set activity zones that ignore floor movement or areas where pets often move. Mount sensors at the manufacturer-recommended height to capture human-sized movement while ignoring smaller animals.
What should I do if my outdoor cameras have a weak Wi-Fi signal?
If outdoor cameras lose their signal, install a Wi-Fi extender or mesh network, such as eero or Google Nest Wifi. A stable connection helps deliver prompt app alerts and maintain high-quality live camera views. Also confirm heavy masonry or metal siding does not block the camera, because both can weaken signals.
Is it necessary to use Two-Factor Authentication (2FA) for my security account?
Absolutely. Enabling Two-Factor Authentication (2FA) is one of the most effective ways to protect your stored video and personal data. A second verification step blocks unauthorized users from accessing security rules or viewing camera feeds, even if someone obtains your strong account password.
How do I handle security camera privacy with my neighbors?
When positioning outdoor cameras, focus on your own entry points and approaches. Avoid aiming cameras at neighboring homes, private spaces, or shared areas like apartment hallways. In the United States, many jurisdictions regulate audio and video recording where people reasonably expect privacy, so check local rules first.
What happens to my smart home security system during a power failure?
Most reliable systems, including Abode or Ecobee, have backup power, such as internal batteries. These batteries keep the security hub and siren active for several hours. During an internet outage, choose hubs with cellular backup so app alerts reach your phone when your router is down.
How often should I perform a security walkthrough of my system?
We recommend conducting a full security walkthrough at least once every three months. Test door and window entry sensors, walk through motion zones, and verify responsive glass-break sensors. Also check battery levels and confirm firmware updates are fully installed for optimal performance.
Can I integrate my smart locks and smoke detectors into one security app?
Yes, most modern ecosystems connect various devices through smart home automations. For example, set a rule so your August Smart Lock automatically engages when your system enters Away mode. Philips Hue exterior lights can flash when smoke and carbon monoxide detectors trigger, creating a coordinated defense for your home.